
PAPER ROSETTE ALBUM


Francesca Orlandi
Ciao, sono Francesca!
Abito a Treviglio in provincia di Bergamo, sono sposata con Andrea e abbiamo due piccole pesti, Michele e Gabriele di 10 e 9 anni.
Mi sono innamorata dello scrapbooking e del card making 4 anni fa, ma da che mi ricordi, ho sempre pasticciato con carta e colori.
Sito WebHello everyone!
Today I want to show you the album I created for my granddaughter who will be born soon! It’s a mini album that becomes a garland to hang in the bedroom because the pages are paper rosettes.
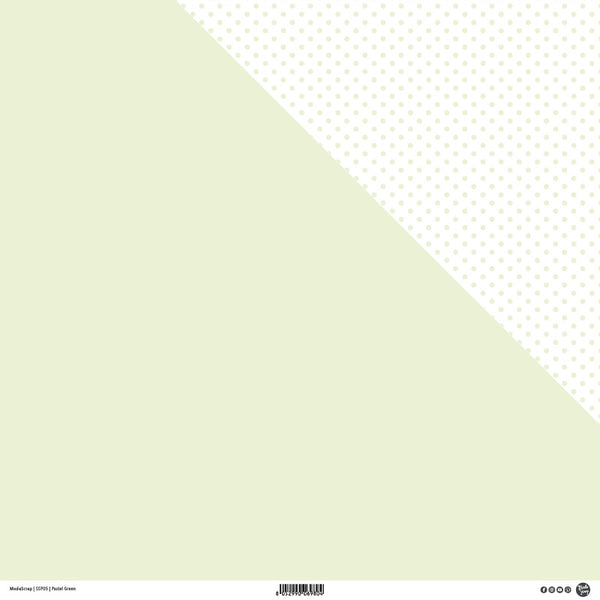
I have chosen to use the double-sided papers in the colors *Pastel Pink*, *Pastel Peach*, *Pastel Yellow*, *Pastel Green*, *Pastel Blue* and the Wild Flowers 03, 05. To start I punched 14 circles in the various colors with the 5.8 cm diameter *Dashing Circle* die (2 are needed for each paper rosette) then from each pattern (7 in total) I cut a strip measuring 12 x 1 3/8 inc, and I folded every 1/4 inch along the long side, making a kind of "accordion".
PS: with this measurement you will get 3 ¾ inc diameter paper rosettes, but if you want them larger (about 4 ½ inc diameter), the strips must measure 15 ½ x 2 inc to be folded every ½ inc (always along the long side).
At this point I made sure that the two final ends of the "accordion" were folded one down and the other up, otherwise just cut off one of the two pieces and then glue. A kind of "chaplet" has formed which resembles the cups of pastries!
Keeping it leaning against the table, I tried to flatten it by closing the folds on one side and widening them on the other. Once flattened, to block it I glued the circles with hot glue, first on one side then on the other and the rosette is finished! It seems hard to do, but if you watch this old video https://youtu.be/180Whi_V6Zcin the part dedicated to the rosette the procedure will be clearer, only the measures are different.
To "bind" the album I glued on each rosette (one on the right and one on the left), 2 inserts with the hole created with the *Dashing Heart* die and with the twine thread I tied the rosettes one in a row to the other, adding *Mini Tassel* tassels and paper beads as decoration.
To complete the mini album, with the *Dashing Circles* die I added the white cardboard circles on which to put the photos, and I embellished with Die Cut *Let Your Soul Bloom*, and *Shade Of Love*. Finally I added the clear stamps Set *Love* and *Honey*.
The mini album is finished! I hope I have been useful to you and that you like it!
Thank you and see you next time!
Francesca.


Francesca Orlandi
Ciao, sono Francesca!
Abito a Treviglio in provincia di Bergamo, sono sposata con Andrea e abbiamo due piccole pesti, Michele e Gabriele di 10 e 9 anni.
Mi sono innamorata dello scrapbooking e del card making 4 anni fa, ma da che mi ricordi, ho sempre pasticciato con carta e colori.
Sito Web